
I know I'm behind on my tutorials for this blog, so this is the first of many catch-up tutorials to come this summer! I'm going back to easy but effective charms with this cute little orange.

More after the jump-
I'll be honest. This isn't the tutorial I had in store for today, but all my ideas and planning fell through and I wanted to give you guys something, so I thought I'd return to a sure hit. I marathoned making fruit last spring for a craft show and it went down a storm. They're very straightforward to make, as well! Hopefully I can tweak my other idea and get it to you soon because I think you'll love it if I can get it to look right!

All you need to start for the main part of this project is a small piece of orange clay (this is FIMO Soft 42- tangerine) and a pin to texture. I like using headpins- pictured above is a cut-off from a longer one, but I use the flatter end to get a more defined dimpling.

Texturing is really just finding the sweet spot where you've textured enough without going overboard. It's also better to be a little bit deep because when you tidy and re-shape later you will lose definition in the dimples.

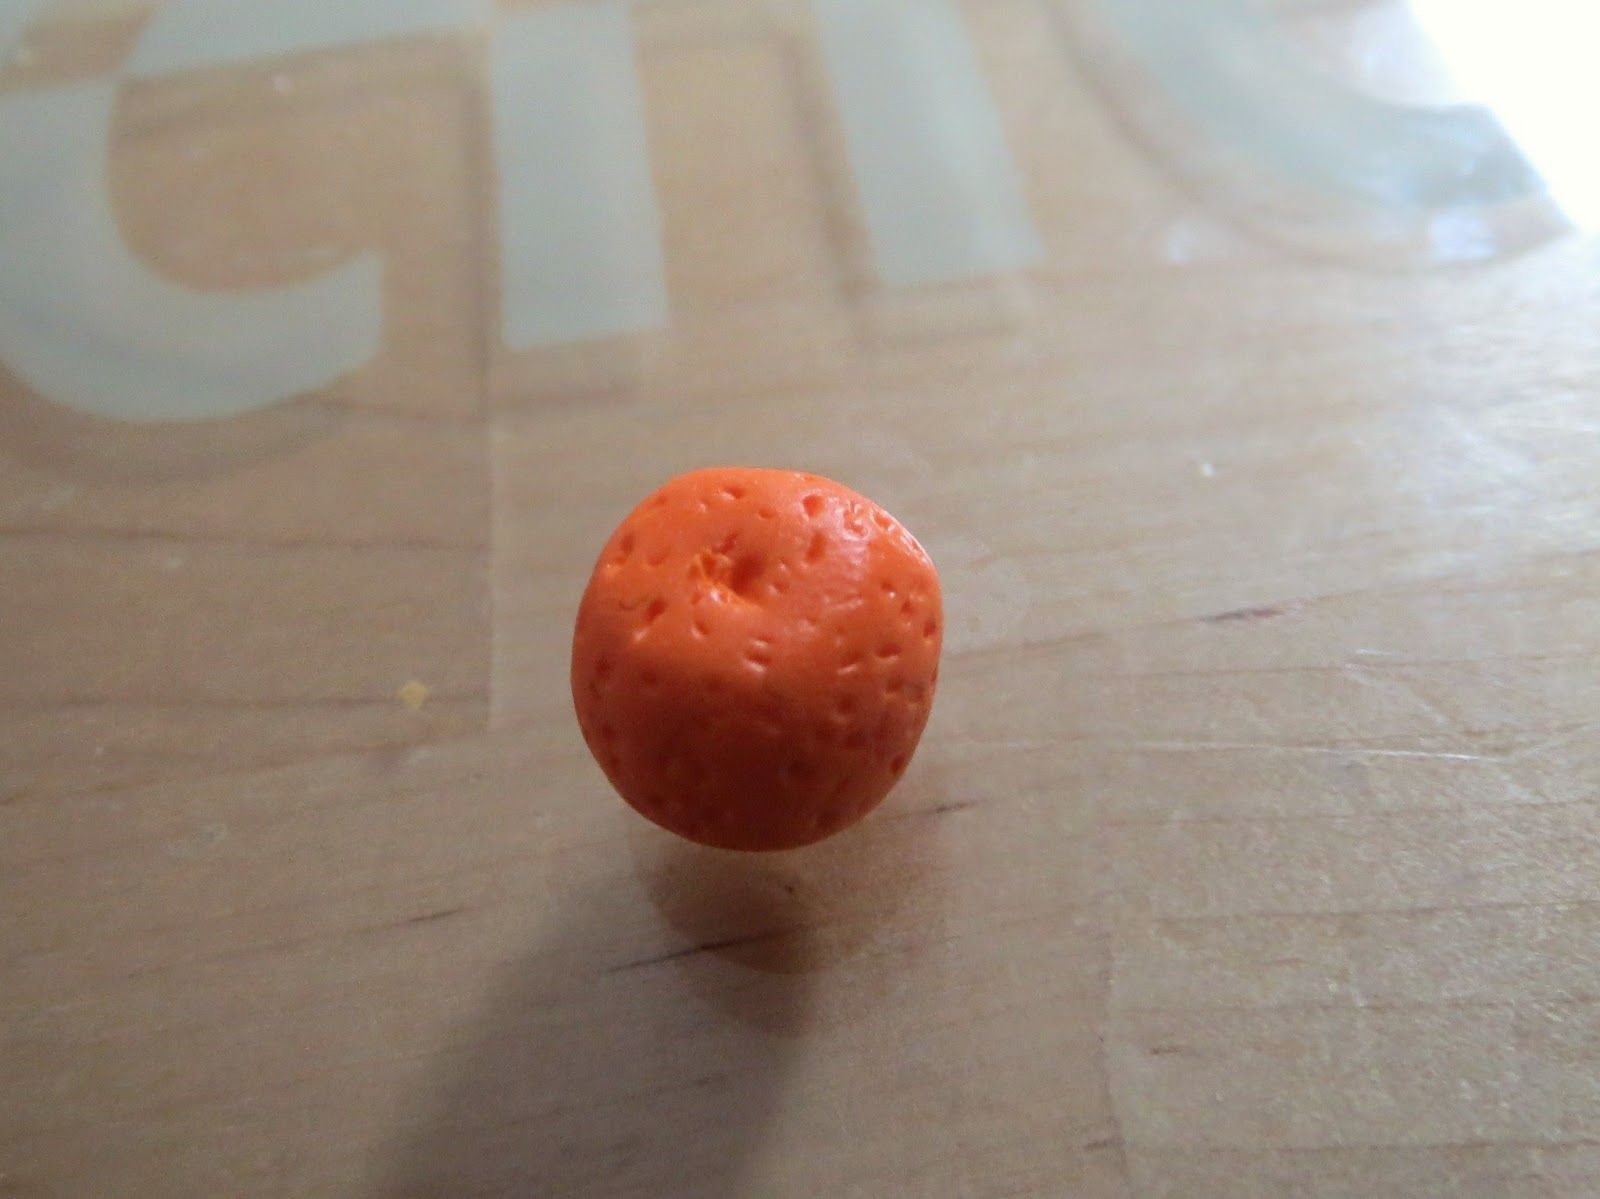
I like mine a bit more clementine-shaped, and I give them a larger navel of sorts on the bottom. It's really a matter of taste, though, as I've liked my rounder navel-less oranges too.


While I don't add leaves to all my fruit, I think that the addition of a little leaf (here made with FIMO Soft 50- apple green) just looks great.

Add your leaf- maybe give it a bit of a turn to add life to the charm, add your eye-pin hole as needed, and bake! So simple but really cute.

The simple texture method works great for strawberries and lemons, too- simply cut a skinny star-shape from some darker green for the strawberry top. The lemons are probably my best-seller in my Etsy shop.

I just love the colours you can get from the fruits. Most of these are made with simple out-of-the-packet colours, a little bit of texturing, and really just a familiarity with the shapes of fruits. The bananas and pears were given a bit of patina by flicking watered-down brown paint on them after baking but before varnishing. The stems on various fruits are added by making the eye pin hole just a bit larger and inserting them gently before baking. While they obviously work really well as single matching pairs for earrings or just as little pendants, they're also great for multi-fruit groupings on bracelets, too.
I'm hoping to add to my fruit this summer- blueberries and grapes are the first of my new additions to go up soon, and watermelon is in the middle of being made right now!
Which is your favourite? I think the pears have always been mine.
No comments:
Post a Comment