

Earlier this summer, I made a few gifts for my daughter's teachers. Her school emblem contains oak leaves, and I racked my brains on how I could quickly and easily make consistent oak leaf shapes. Then, I saw my trusty flower cutter and it went from there! As I was making my oak leaves, suddenly I saw little green clouds, and I knew I had to come back later and make this. And when I decided that it was time to start this blog, it seemed like this would be the perfect first tutorial! So here we go...

These are the items I used today, and the ones I use pretty much every time I work with polymer clay. I use an acrylic roller to roll out sheets of clay. (Although, I suspect it may go by the wayside when I eventually get a pasta maker- yes, you heard me right!) I use a toothbrush for a lot of texturing; I find I can get many different levels of texture from it. I have two cutting implements- a tissue blade and a craft knife. The tissue blade is good for lifting things from the work surface and making long straight cuts. The craft knife is good for more precise cuts, getting teeny tiny bits of clay, or doing "crumb" type textures. I just use a cheap glass cutting board right now and am happy with it as it doesn't add texture to my work. My trusty flower cutter is here, as is a brand new package of white Fimo. Wipes are a must for cleaning lint and dust from the clay, as well as for removing clay residue from my hands when I move to a new colour of clay. And lastly, cupcake papers keep things safe when I put them in the oven, and organised when they come out again.
Here's how to make the cloud-
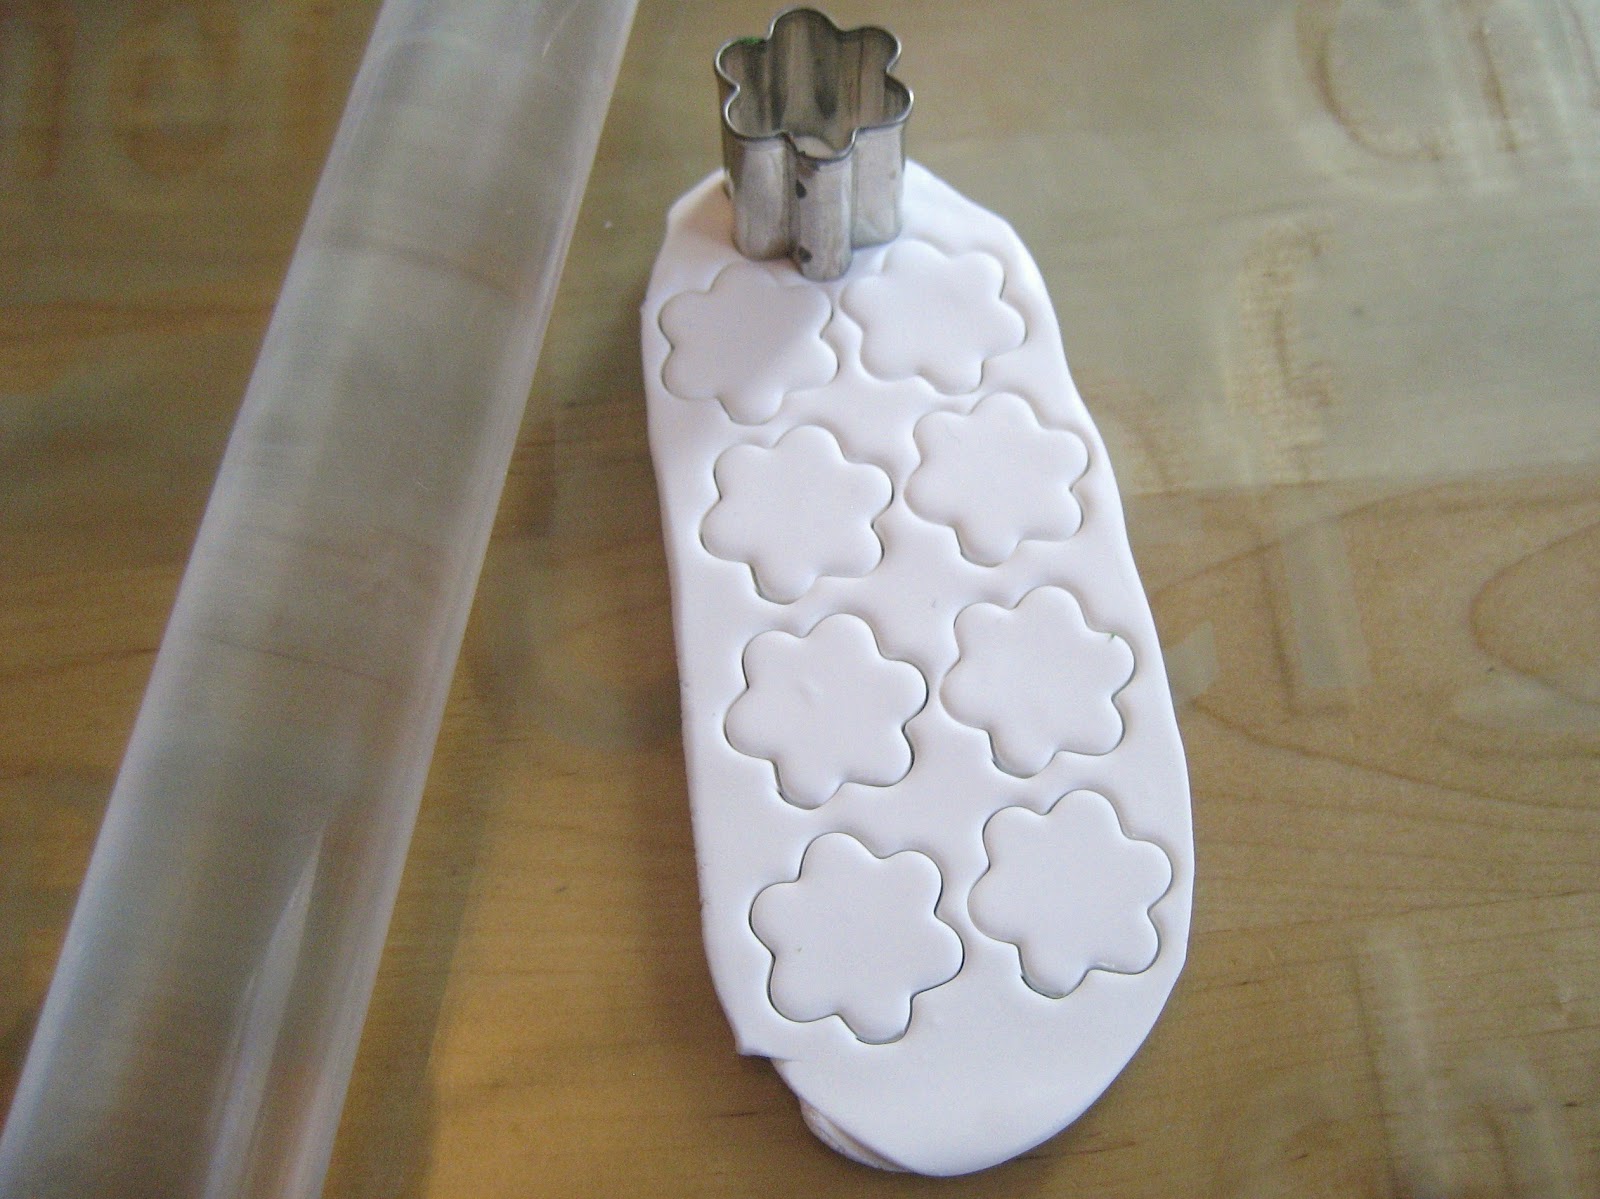

Roll out the clay and cut out some flower shapes. They'll be a bit stubborn to come right off the surface, so use the tissue blade to lift them.

Pull two opposite petals apart very gently, until you get the cloud shape. You may want to smooth edges where the cutter left it a bit ragged, but it's not always important.

Remove any stray pieces of lint or dust that bug you with a fresh baby wipe. Be gentle- you can do this at any time, but if you need to do this late in the process, be aware that it may remove some of your texture and can pull colours on to each other.

You can leave your cloud smooth, but I thought it looked good lightly textured with the toothbrush. Don't brush, but lightly dab the surface of the clay until you've reached the desired texture.

I decided to hang this connected to the chain, rather than as a pendant, so I made holes on each side rather than the top. I used a jewelry pin, but any pin will do. Give it a gentle wiggle as you go. When you flip the cloud over it may seem like the hole hasn't gone through, but when you add jump rings later you'll find that they go through easily even if the back isn't as open.

Bake! Put the clouds into a cupcake case or just on to some foil or parchment paper before putting them on a baking tray. The clay I used needs to be baked for 30 minutes at 110C, and most polymer clays are similar to this.
Tomorrow- Varnish, fix, and done! I'll also cover some easy variations for every mood.

Will your cloud have a silver lining? ;)
Do you have any websites/shops that you recommend if someone were planning to start?
ReplyDeleteI find most of the best deals are on eBay. Bead Workshop has a good selection of findings and tools, and great customer service. I've also heard good things of The Bead Shop and am planning to get my sterling stuff from there later this year. Fimo I generally buy in batches on eBay but The Range sells it at a good price, and you can go see all the colours on offer as well as the Fimo branded tools. For ideas, look for polymer clay books on Amazon (I got one called Tasty Trinkets). I hope that helps!
Delete