Showing posts with label Tutorials. Show all posts

Tuesday, December 3, 2013

Christmas Pud Necklace Tutorial

Phew, this autumn has been crazy. I've done my first few craft faires, juggled through a few shops, sold a ton on Etsy thanks to the new credit card payment system, and have been generally working my little behind off!

I'm behind on non-CC content, and one of the first things I knew I wanted to do for you guys was a tutorial, so here's one I've had planned for a while- Christmas puds.

This tutorial is also a companion to my Christmas Pud Necklace kits, so anyone buying those looking for a photo tutorial, you're in the right place!


This tutorial can be used to make a variety of different pud things, simply scale to the desired size as needed. In these photos, I make a chunk 1" pud for a pendant.

I have made my puds a few different colours over the year, but I've found a roughly 2:1 ratio of brown to red clay looks the best. If you only have a small bit of red clay (from the kit, etc), pinch off a pea-sized piece of red clay and leave it to the side- you’ll need this later! Blend the remaining red clay with all of the brown clay to make the body of your pud.


Roll the red-brown clay into a ball. Texture it with a toothbrush, or by rolling it on a piece of low-grit sandpaper. Set aside.


Condition and roll out/flatten some white clay.  Shape to a irregular round shape (think ‘splat’) or cut it to shape with a craft knife. I was making several puds at once here, so I have three 'splats' cut out. Make them as big or as small as you like.


Soften the edges with your fingers - once satisfied, place the clay on top of the red-brown pud base. Gently push it into place, working around the edge of the 'splat' in a circle.


Blend green and black clay together. NOTE: Start by blending just a VERY TINY bit of black clay and add more in tiny bits as needed, depending on how dark you want your holly leaves to be. You really will need almost no black clay to start, and none if you prefer a bright green.

Thinly roll out the dark green clay and cut two holly leaves. Cut a rectangle shape, and then slowly notch the ends and sides until you are happy with the shape. Gently scratch a line down the middle of the leaf for detail.


Place your holly leaves on top of the white ‘cream’. You can choose to either have them lie flat of give them a bit of lift.


Condition another small piece of red clay, and make three holly berries to place between the holly leaves! The easiest way to get them all the same size is to roll out a long skinny snake of clay and cut equal sized pieces from it before finishing the pieces into a better spherical shape.


Once your berries are placed, decide how you want the pud to hang, and use a sharp needle to poke a hole. I put mine in at a slight angle so the pendants show off the holly a bit better.


You can also slice one pud into two before adding the holly and berries to make two pud halves. These work great for post earrings and brooches.


Bake according to packaging instructions (110 degrees C for 30 minutes for FIMO) and varnish if desired, and you have a great little necklace that will be the perfect addition to your Christmas jumper! 


To buy a kit for this, send me a message on Facebook or give me a tweet! Is there anything else you'd like to know how to make? Any other kits you'd like available? Let me know!

Tuesday, August 20, 2013

Easy Nail Polish Earrings

A few months ago I saw a very effective and simple way of making some great earrings- and whatever your style is, you can make them 'you'! With your favourite nail polish (or just some that you think would make great earrings) and just a couple of glass cabochons, earrings are born!


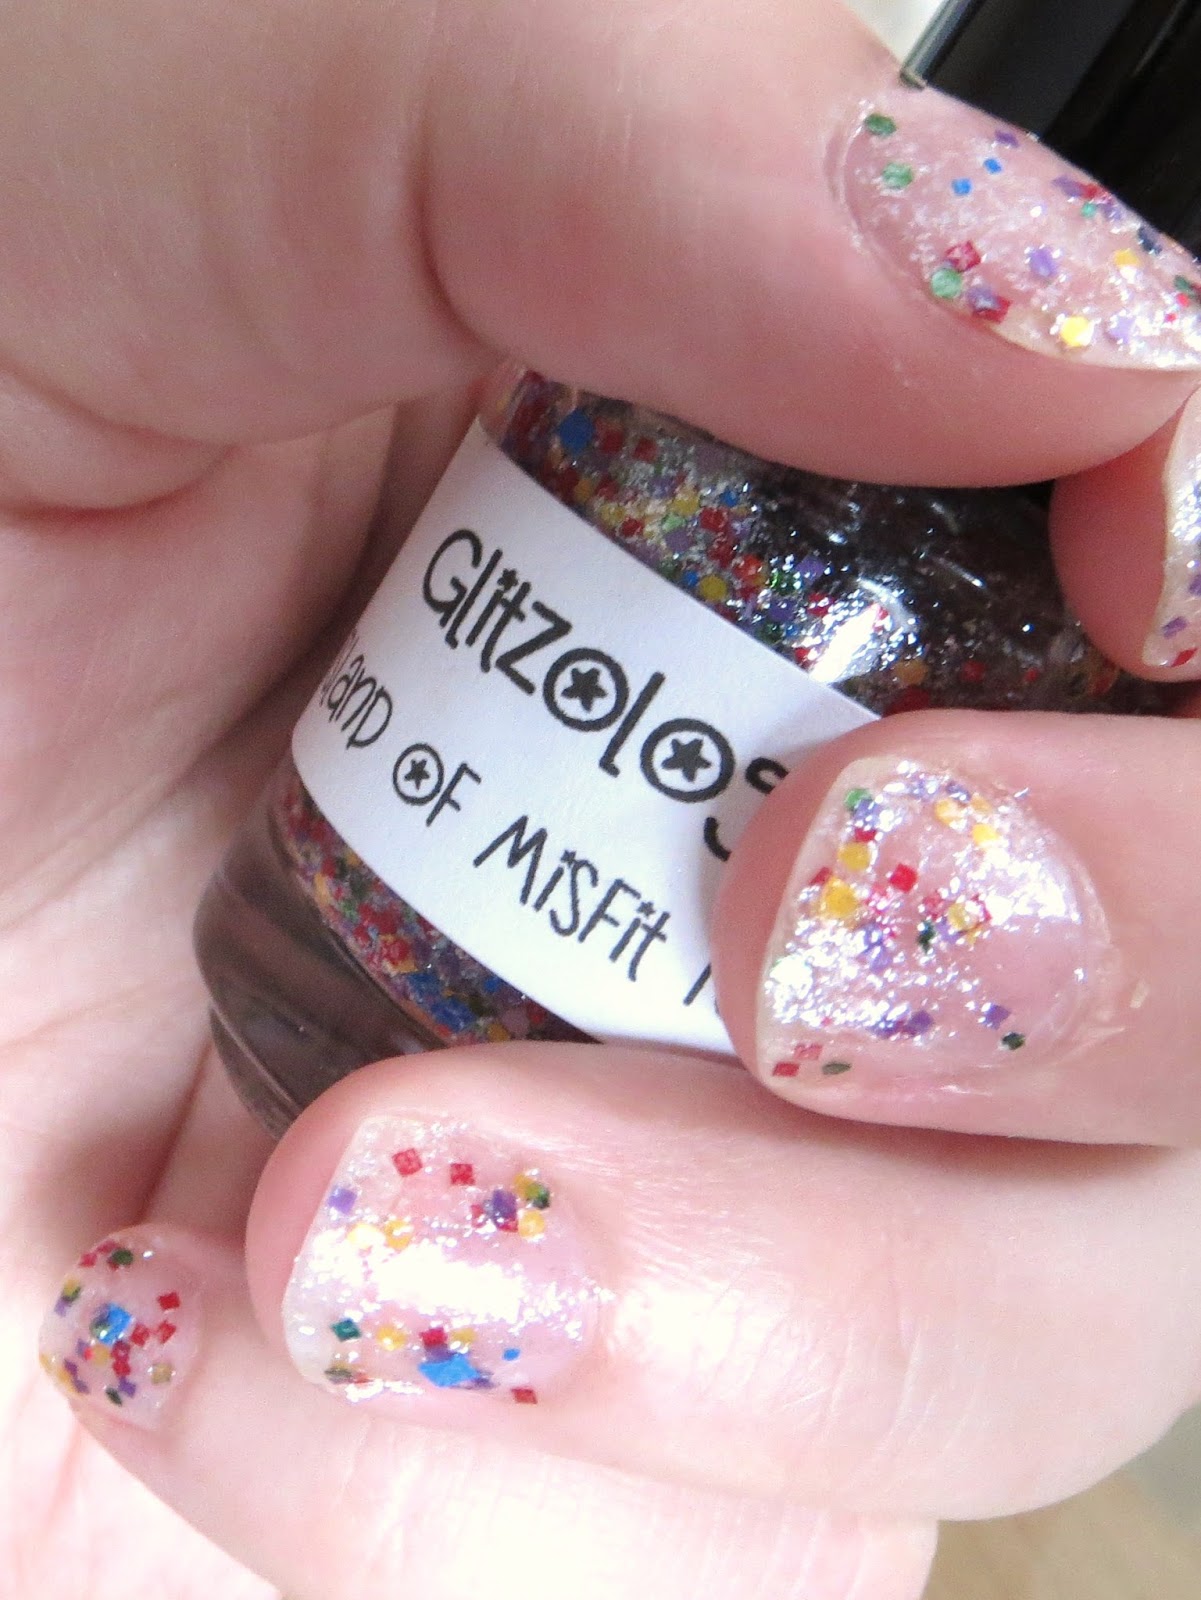
The hardest part is probably picking the nail polish you want to use. But the great thing about this is that if you buy a pack of cabochons, you can make a ton of coordinating earrings. For this tutorial, I used Island of Misfit Toys by Glitzology, a sheer polish with lots of rainbow glitter.


The problem with glitter fingernail polish is that when I work with clay, it tends to come off and spoil the clay, so I don't get to wear it on my nails much. Wearing it as earrings softens the blow a bit!


In addition to the nail polish and the cabochons you'll need a good craft glue and some earring posts that aren't bigger than the cabochons. (They're not pictured, but don't forget the earring backs, either!)


So here it is: Paint the back of your cabochons with nail polish- more coats if you want it to be darker though the silver posts will help it. When they're very dry, carefully glue them to the earring posts (being especially careful if you are using a solvent glue as it'll work like fingernail polish remover and pull the polish from the glass).


And that's it. Great little earrings that will coordinate perfectly. You can also do this with larger glass cabochons and make pendants for a coordinating necklace. 


Cabochons can be found cheaply from most craft stores and online, making these a nice inexpensive addition to your jewelry box- and you'll probably end up making multiple pairs!


What polish will you use? Do you have a favourite?


Wednesday, August 7, 2013

Tutorial: polymer clay pretzel necklace

Using pastels to colour polymer clay is something that I've seen done a lot but never tried. I tried it recently with some burger charms and saw good results, so I thought I'd incorporate it into this month's tutorial- pretzels!


For this you'll need only a small amount of clay (I used Fimo Soft #7 caramel, lightened a bit with white), some sienna pastel, and, if you have it, glass sugar! 


Make a long 'snake' of clay- thicker if you want a soft chewy-looking pretzel, and thinner if you want a crunchy-looking pretzel!


Make a 'U' shape with the snake, and then bring the tops of the loops back down onto the bottom of the 'U', crossing over each other. Don't worry if it's not a perfect shape as you can fix it later. Very carefully flip the pretzel over, using a tissue blade if you want to, and trim the ends as long or as short as you like. If you want your pretzel to look softer, gently press down on the places where the clay meets, otherwise just give them a quick touch to make sure it all holds together. Reshape the pretzel now if it's not quite how you want it.


Here's the fun part. Using a craft knife, scrape the top of the pastel chalk, leaving some dust. Pick it up with a paint brush, being careful not to take too much at once.


Very gently apply it to the pretzel. The pretzel looks more real if you don't cover it too thickly or too evenly, so don't worry about it too much. Keep a piece of clay from the scraps next to you as you do it- I found this helped me gauge how dark my pretzel was going, as it was hard to tell sometimes!


You can see the change in the colour here- I did four pretzels and this was the darkest one. 


Leave the back of the pretzel un-chalked- if you have bits of unwanted chalk dust clinging to the back, it's easiest to scrape or sand them off after the clay has baked, or you may risk smearing it around more than before! Bake your clay now.


If you want your pretzels to look salty, get some of this. It's fake salt/sugar for crafts, made from glass so it doesn't distort when baked with polymer clay. I found mine cheaply on Etsy. A little goes a LONG way.


Varnish the pretzels, and as soon as you varnish the tops, sprinkle a little bit of the craft salt on top so it sticks to the wet varnish. Let it dry, and then add another thin layer of varnish to help secure the salt so it won't brush off when worn.


I liked my fat soft pretzels better when I was doing the first steps, but when finished this skinny pretzel was by far my favourite. Once the varnish has dried, all you need to do is find a big enough jump ring to go around one of the loops of the pretzel, and it's ready for a chain!


These were very quick and easy to make, and just look how CUTE the necklace is! If you can't find craft sugar, you could probably also make salt by grating a piece of baked translucent clay, but it won't be quite as translucent as this glass sugar.

I have a few tutorials to catch up on- so if you'd like to see me attempt anything new or show you how I do something, please let me know! <3


Wednesday, June 26, 2013

Polymer Clay techniques- using baked clay for embellishment

Most of my polymer clay techniques are self-taught and self-discovered. One that I picked up when wanting to make coloured sugar for Christmas cookies, two years ago, was to use already-baked translucent clay to make that sugar. From there, the ideas came quickly.


Here is the amount of baked clay 'ingredients' (plus a couple others) I've accumulated from just a year and a half or so of using it as an ingredient. It adds up!


'Peep sugar' and chocolate/toffee chips are made in very different ways. I have a grater that I only use for polymer clay that I use to grate down the baked clay to almost a dust for things like peeps, and for chips I simply slice and then chop down to the desired chip size. 


I've also gone the baked route for other ornamentation- with the M&M cookies, I actually worked the baked sweets into the clay to get a more realistic look when they were finished. The brown 'sticks' are to be Flakes, which I've had made for a time now but have yet to tackle the Flake texture... but I'll get there. Hearts and coins decorated cakes and cupcakes and were my first cane-sliced decorations!


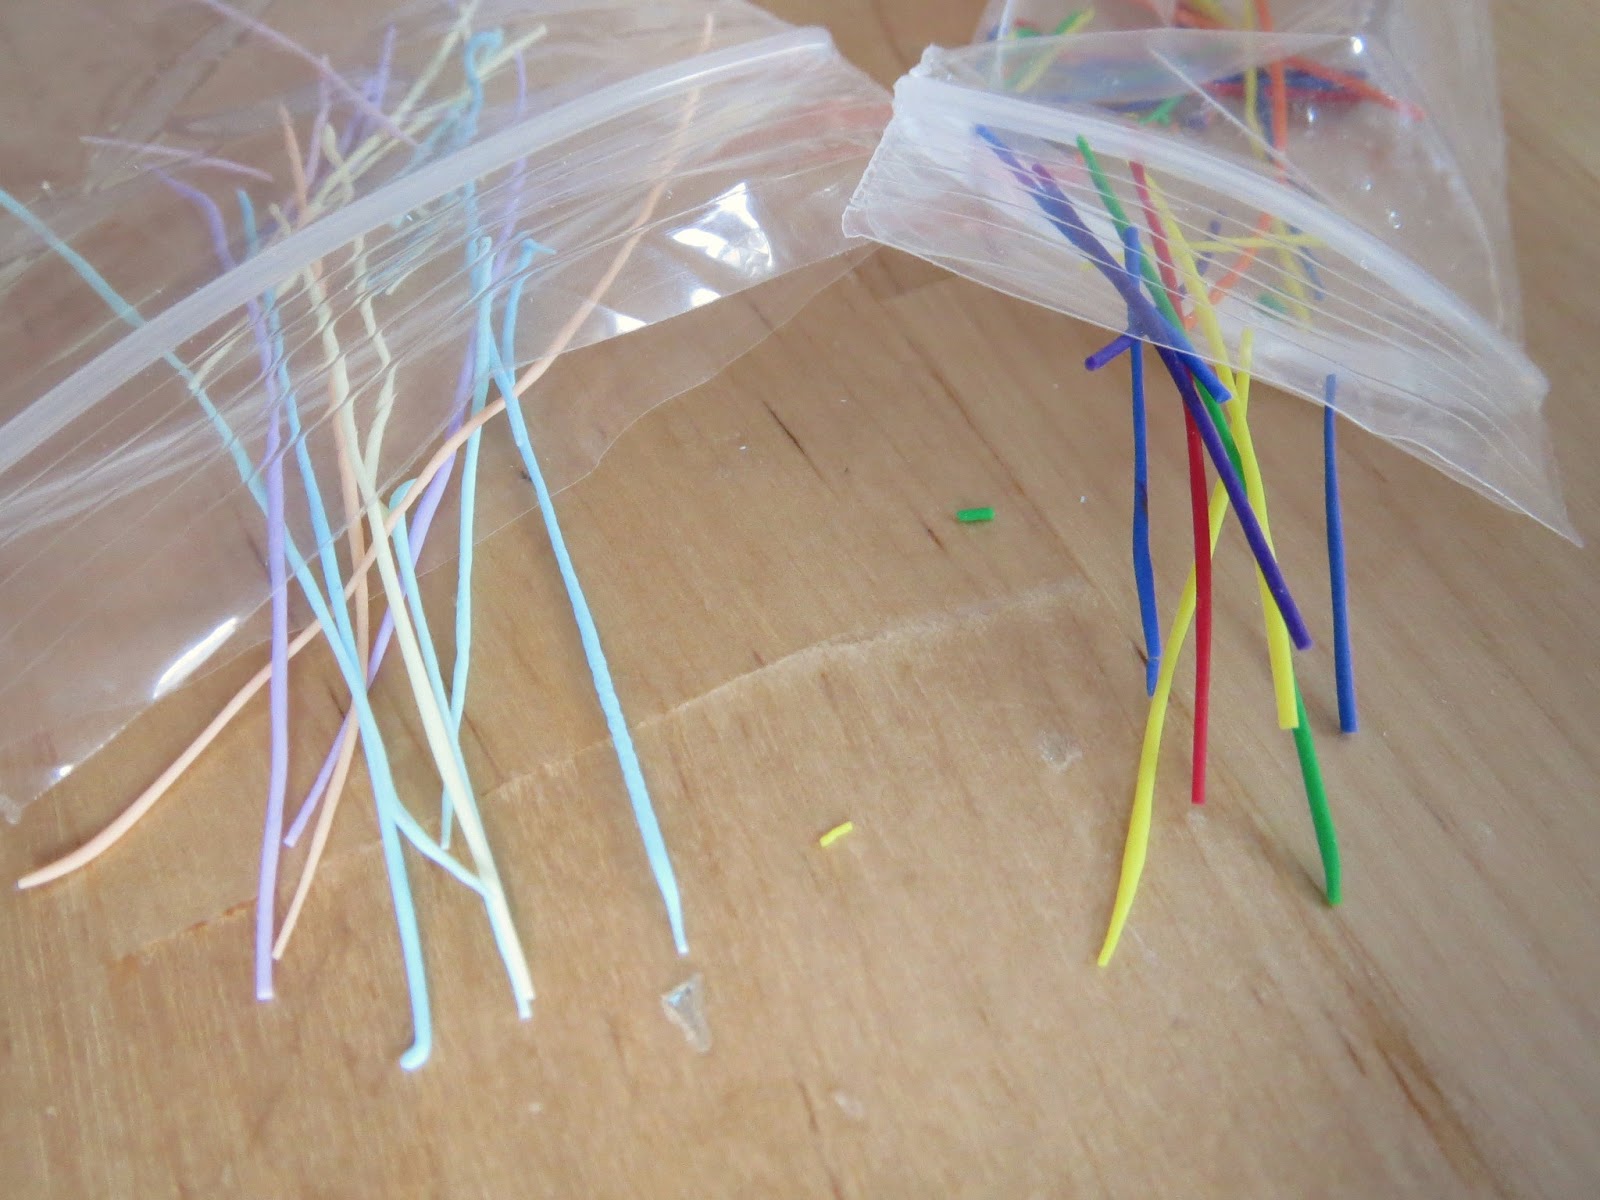
My most recent baked clay technique has been to pre-make sprinkles. My donuts have in the past had every single sprinkle made individually- while I think it looks great, it does take time. So here I have some pastel and normal multi-coloured strings of clay which I chop down to sprinkles as I need them, ready for donut testing. So far I've used these to make some cakes for a customer and they looked great.


I've also used a few other things for embellishment- the fake sugar and ice is a glass product and works much better than using translucent clay for the same purpose. It makes great 'salt' on my pretzels! And of course, watch parts are used quite frequently in polymer clay work nowadays, and mine is no exception.


There are many other baked-clay methods I've used that I've not had space to mention. Not all are applied in the same way, but the best way to find something that works for you is to experiment. There are great little tricks hiding out there, waiting to be discovered! 

I can vouch for how these methods work for me, but they may not be accepted as the best or 'correct' ways to use polymer clay across the community! But, as always, do what you find works best for you and creates a great design.

 <3 S


Monday, June 10, 2013

Polymer Clay Tutorial- Orange fruit charm

I know I'm behind on my tutorials for this blog, so this is the first of many catch-up tutorials to come this summer! I'm going back to easy but effective charms with this cute little orange.


More after the jump-

Thursday, February 21, 2013

Tutorial: Shamrock Cane

I'm trying to stay ahead of the game for my seasonal stuff this year, having things out roughly a month before the day in question at the least. I wanted all my green and shamrocked things up by last Friday, but I hit a few snags. Finally, it's all made, I just need to finish and list it- but here's how to make a shamrock cane which can be used to make all sorts of things!

Wednesday, January 30, 2013

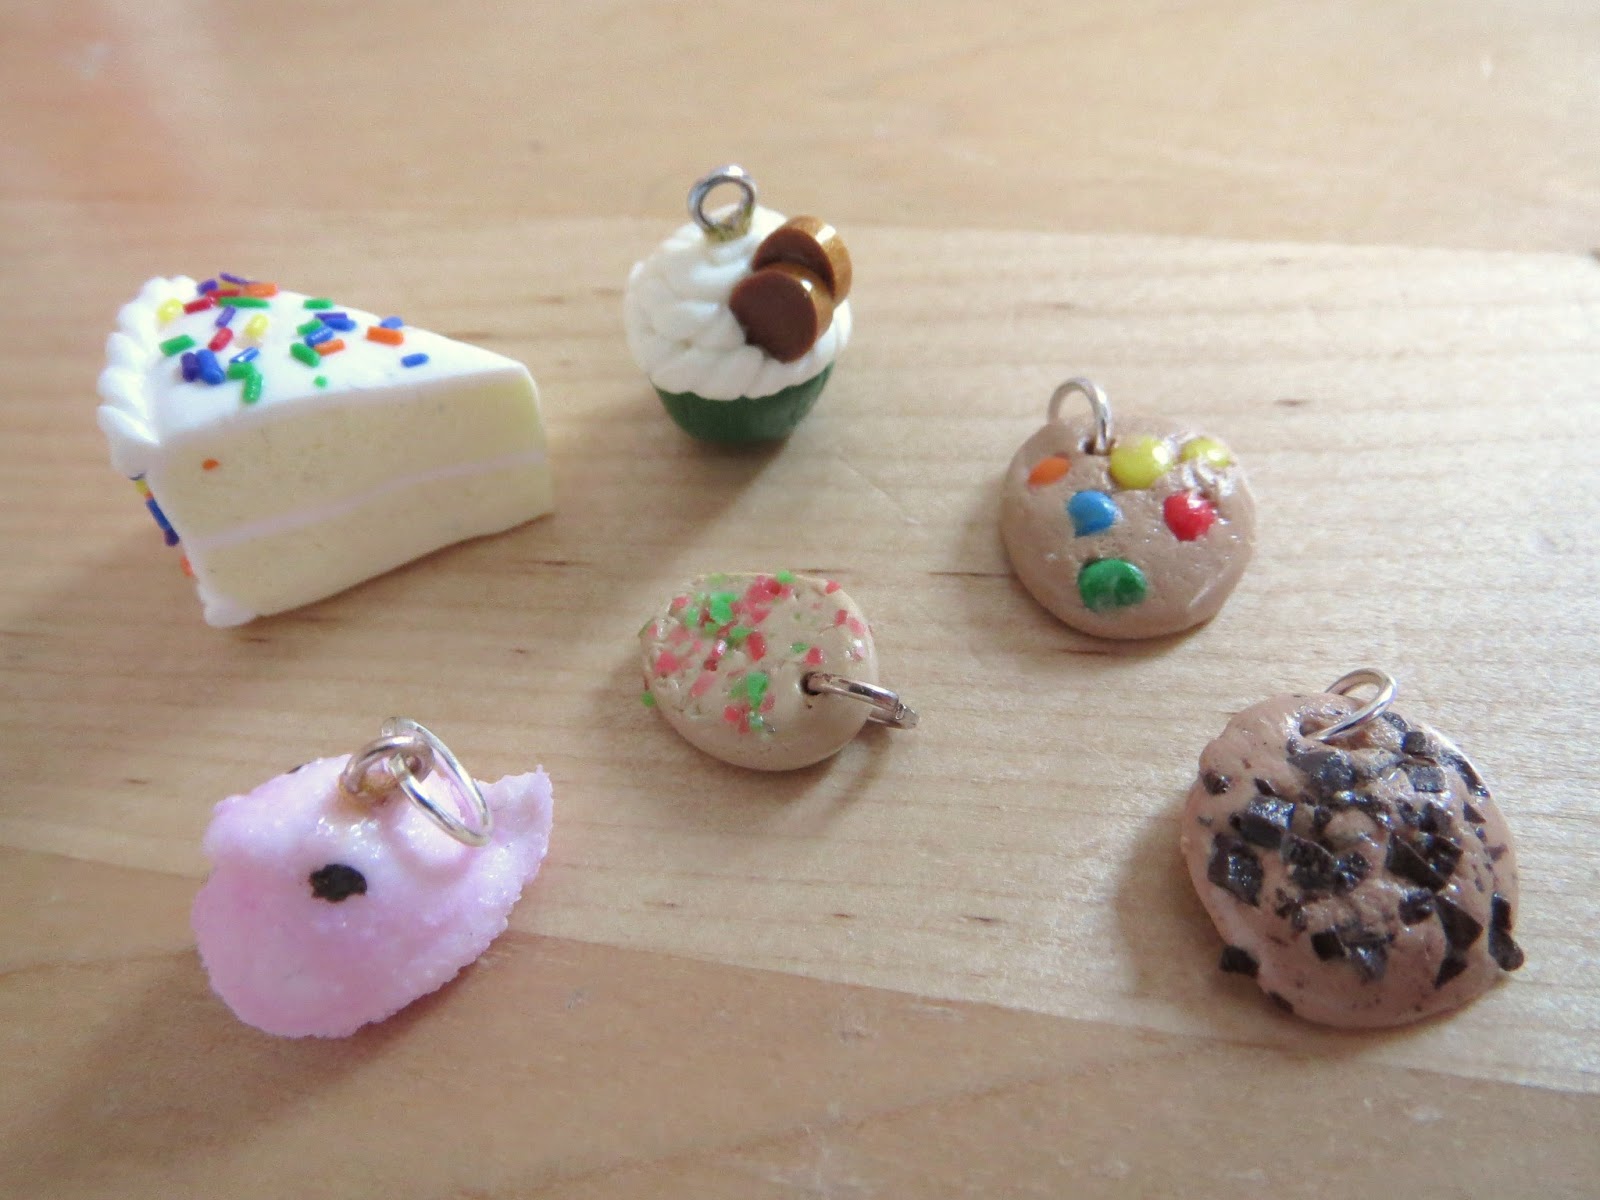
Polymer clay tutorial: Cake slice charms!

It's finally time for another tutorial! I knew I was going to do something 'iconic' of my Cute Enough to Eat stuff, but I wasn't sure what. I ran a poll, I asked around... and everything seemed to be pretty much tied up; there were no strong leaders. For me, indecision is a huge procrastination tool, so I sat on it for a while. Then, I got a commission for some teeny cake slices, and so it was decided!